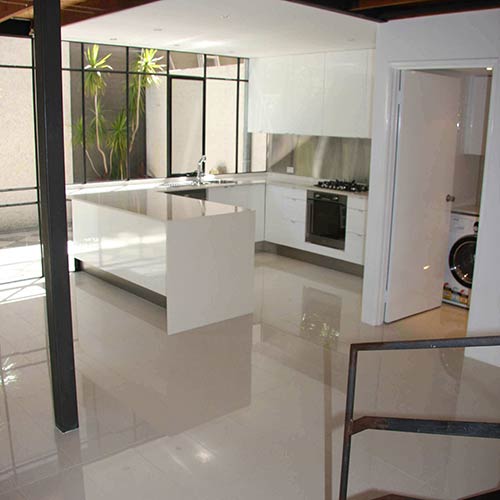
Floor tiling is fast becoming one of the many DIY tasks that the average DIY handyman can feel confident about the undertaking. Like any DIY task, it is prudent before you start to have a plan. You need to know exactly what process to follow or your attempt at saving money by doing it yourself could end up costing you money by having to get a professional in to fix your mess.
Therefore, it is vital that you hire a professional in the first place if you are not a DIY person. You can also get professional wall and floor tiling in perth from Gun Tiling. However, if you are planning to tile your floor on your own, this article is just made for you. What I will try to show you in this article is how to tile. Floor tiling should not be difficult so here are some easy steps to follow.

The first thing you have to ensure that the surface is completely flat. If you have removed all the old tiles all the cement should be removed. Because the tiles are not flexible they can not accommodate even a little hump or bump. Note that it is not recommended to tile on the wooden floor.
By their nature floorboards tend to move as weight is applied, which means that every time you step on it the boards beneath the tiles will move, which will, in turn, will cause the tiles to shift and it is highly likely that over time they will crack. Next, mark the centre point of each wall about 1 inch above the floor surface.
When you have decided what pattern to follow, start from the centre point and apply your adhesive. You will lay tiles in opposite directions from each other so if you can imagine yourself in the middle of the floor you will lay one at your right hand, and then one at your left hand and so on until you reach the wall on your right and the wall on your left.