Image Source: Google
Installing solar panels can be a great way to reduce your carbon footprint and save on energy costs in the long run. However, it's important to approach the project with careful planning and attention to detail to ensure a successful outcome. This checklist will guide you through the key steps and considerations for the best solar panel installation project.
1. Pre-Installation Planning
Determine Your Energy Needs
- Calculate your average daily energy consumption.
- Consider any future changes in energy needs.
Assess Your Property
- Check for any obstructions that may block sunlight.
- Determine the best location for solar panel placement.
Evaluate Your Roof
- Assess the size, slope, and condition of your roof.
- Determine if any repairs or reinforcements are needed.
2. Choosing the Right Equipment
Selecting Solar Panels
- Consider the efficiency and durability of the panels.
- Choose between monocrystalline, polycrystalline, or thin-film panels.
Inverter Selection
- Decide between string inverters, microinverters, or power optimizers.
- Consider the warranty and efficiency of the inverter.
Mounting Hardware
- Select the appropriate racking system for your roof type.
- Ensure the hardware is compatible with your chosen solar panels.
3. Permitting and Paperwork
Obtain Necessary Permits
- Check with your local government for required permits.
- Submit all necessary paperwork and documentation.
Interconnection Agreement
- Contact your utility company to establish an interconnection agreement.
- Ensure compliance with net metering or feed-in tariff programs.
Rebates and Incentives
- Research available rebates, tax credits, and incentives for solar installation.
- Submit applications and required documentation for financial incentives.
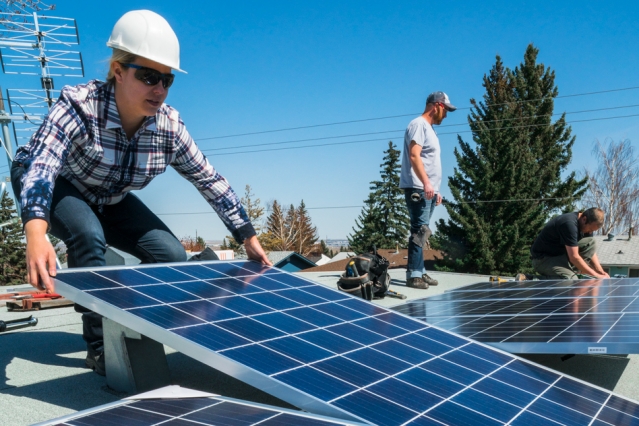
4. Installation Process
Roof Preparation
- Clean the roof surface and make any necessary repairs.
- Install roof flashings and seal any penetrations to prevent leaks.
Panel Mounting
- Secure mounting hardware to the roof according to manufacturer instructions.
- Install solar panels on the mounting system with proper spacing and alignment.
Electrical Wiring
- Connect the solar panels to the inverter and electrical panel.
- Ensure proper grounding and wiring connections for safety and efficiency.
5. Post-Installation Inspection
Quality Assurance
- Inspect the installation for quality of workmanship and adherence to safety standards.
- Check for proper wiring and connections to ensure optimal system performance.
Commissioning and Testing
- Power on the system and conduct performance tests to verify functionality.
- Monitor energy production to ensure the system is operating as expected.
Final Documentation
- Compile all relevant documents, including warranties, permits, and inspection reports.
- Keep a detailed record of the installation for future reference and warranty claims.
6. Maintenance and Monitoring
Regular Inspections
- Inspect the solar panels and mounting system for any signs of damage or wear.
- Clean the panels periodically to maintain optimal efficiency.
Monitoring Energy Production
- Use monitoring software or tools to track energy production and system performance.
- Identify and address any issues that may impact energy generation.
By following this checklist and working with experienced professionals, you can ensure a successful solar panel installation project that will provide clean, renewable energy for years to come. Remember to stay informed about maintenance requirements and monitor your system regularly to maximize its efficiency and longevity.