Installing new flooring can completely transform the look and feel of a space. However, to ensure a seamless and professional installation, it’s important to have the right tools on hand. From preparation to installation, having the correct tools can make the process much smoother and help you achieve the best results. In this article, we will discuss the must-have tools for seamless flooring installation.
Preparation Tools
1. Measuring Tape
- A measuring tape is essential for accurately measuring the dimensions of the room where the flooring will be installed. This will help you determine how much flooring material you need to purchase.
2. Level
- A level is crucial for ensuring that the subfloor is flat and even before installing the new flooring. An uneven subfloor can lead to problems with the final installation.
3. Pry Bar
- A pry bar is useful for removing old flooring materials, such as carpet or tiles, as well as for removing baseboards and trim before installation.
Installation Tools
1. Flooring Cutter
- A flooring cutter is a specialized tool designed for cutting various types of flooring materials, such as laminate, vinyl, and engineered wood. It provides clean and precise cuts for a professional finish.
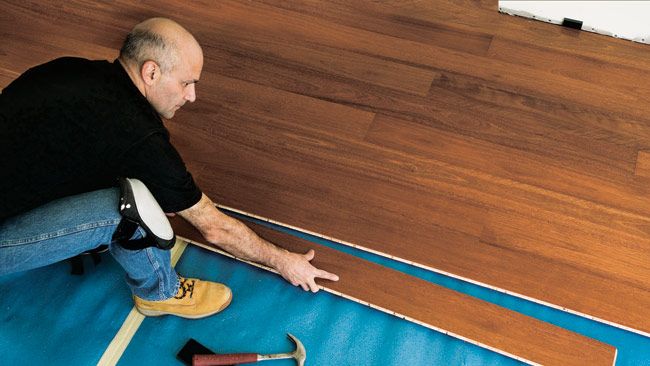
2. Tapping Block and Mallet
- A tapping block and mallet are essential for securing the flooring planks or tiles together during installation. The tapping block helps protect the edges of the flooring from damage, while the mallet ensures a tight fit.
3. Spacers
- Spacers are used to maintain the proper expansion gap between the flooring and the walls. This gap allows the flooring to expand and contract with changes in temperature and humidity, preventing buckling and warping.
Finishing Tools
1. Undercut Saw
- An undercut saw is necessary for cutting door jambs and casings to allow the new flooring to fit underneath. This helps create a seamless and professional look throughout the room.
2. Floor Roller
- A floor roller is used to ensure that the flooring material is fully adhered to the subfloor, especially in the case of sheet vinyl or linoleum. It helps eliminate air bubbles and wrinkles for a smooth finish.
3. Adhesive Applicator
- An adhesive applicator, such as a trowel or glue gun, is necessary for applying adhesive to the subfloor before installing certain types of flooring, such as carpet tiles or vinyl planks. It ensures proper coverage and adhesion.
Maintenance Tools
1. Floor Cleaner
- A floor cleaner specifically designed for the type of flooring material you have installed is essential for maintaining the appearance and longevity of the floor. Regular cleaning is important to prevent dirt and grime buildup.
2. Microfiber Mop
- A microfiber mop is gentle on flooring surfaces and effectively picks up dust, dirt, and debris without leaving behind streaks or residue. It is ideal for regular maintenance cleaning.
3. Felt Pads
- Felt pads are placed on the legs of furniture to protect the flooring from scratches and dents. They help prevent damage caused by moving furniture and heavy objects across the floor.
By having the right tools for each stage of the flooring installation process, you can ensure a seamless and professional result. Whether you are a DIY enthusiast or a professional installer, investing in quality tools will make the job easier and help you achieve the best possible outcome.